Fast chocolate facts, courtesy of the Chocomuseo:
- When Hernan Cortéz (Spanish conquistador) first entered Montezuma’s warehouse, he found close to a billion cacao beans stored there. Some of the beans were ground into chocolate, but the rest made up the national treasury and the military payroll.
- You need 2 cacao pods to prepare one dark chocolate bar or one milk chocolate bar.
- The Chinese only eat 1 chocolate bar for every 1,000 eaten by the British.
- In the USA, the average person eats 55 (100g) bars of chocolate per year. Don’t think so? This includes brownies, cakes, ice creams, and other chocolate products!
- Chocolate melts just below body temperature, so it melts in the mouth. At this moment brain activity and heart rate rise more intensely than during a passionate kiss, and lasts four times longer!
- One chocolate chip provides energy for an adult to walk 150 feet. So it takes 35 chocolate chips to walk a mile or 875,000 to get you around the world.
We started the Bean to Bar workshop with a tour of the Chocomuseo, learning about the cacao plant and the harvesting process for cacao beans. The cacao tree produces pods that, interestingly, grow close to the trunk, and mostly close to the base of the tree. This is because the cacao tree needs lots of moisture to grow. There are about 10 types of cacao tree and the colors can range from a yellow-green to a reddish orange.
Many cacao farms have mango trees around too to help shade and protect the cacao trees from too much direct sunlight. The pod has a fruity edible flesh called mucílago that surrounds the cacao beans. We didn’t get to try any, but our guide told us that if you eat the flesh of a dozen or so pods you may start to hallucinate.
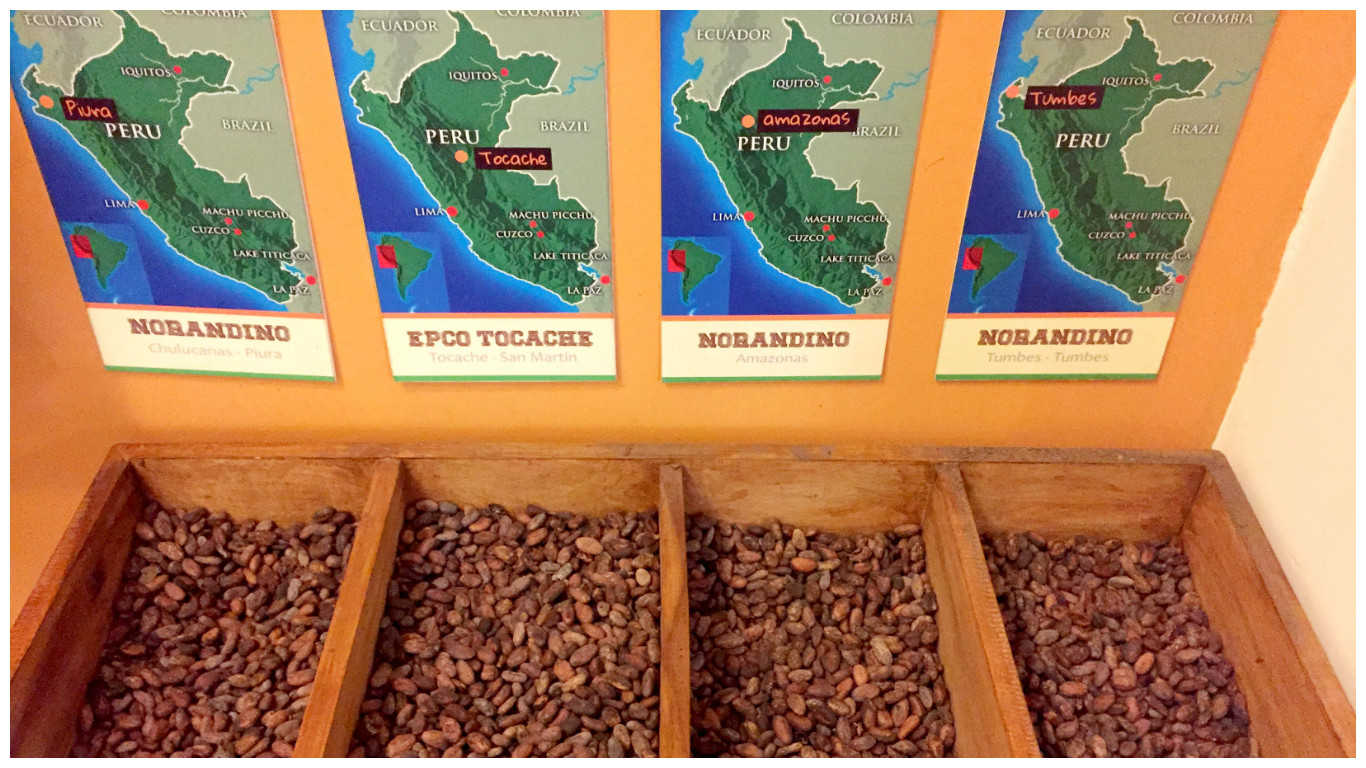
Once the beans are harvested, they’re placed in wooden crates along with the flesh of the pods and they’re covered with banana leaves for the fermentation process. About a week later, they’re removed from the flesh and set out to dry in in the sun. Then they’re ready for roasting.
This is where we started our chocolate making process!
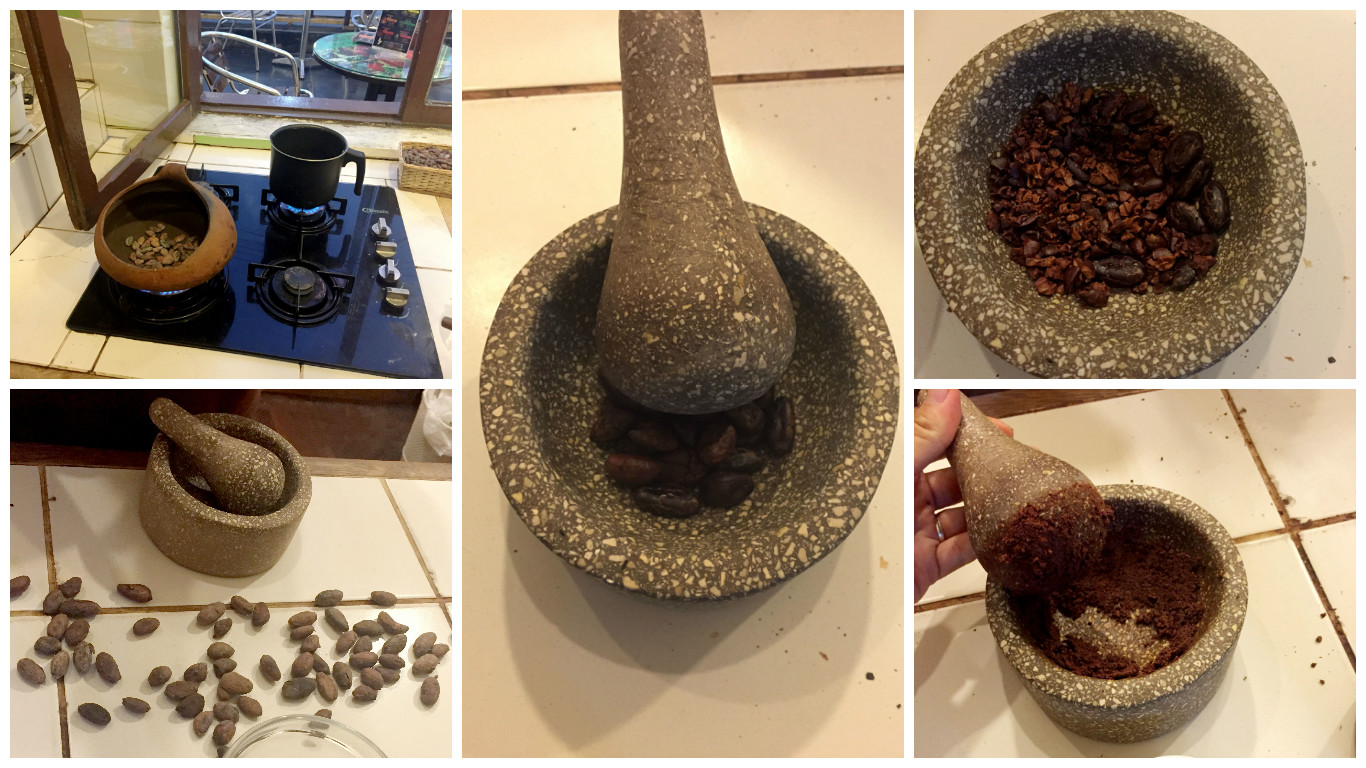
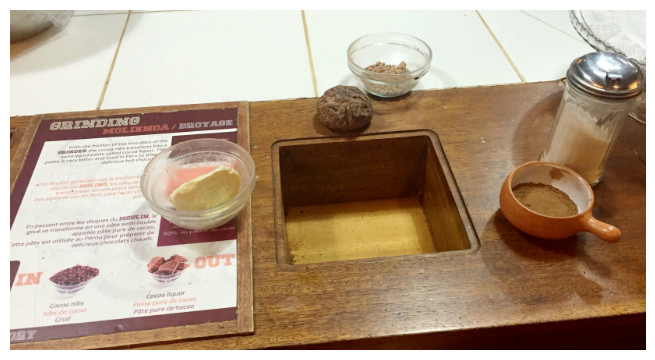
We roasted some cacao beans that have already gone through the fermentation/drying process in a clay container that roasted the beans without getting too hot to touch. Some of the beans cracked and popped.
Next we rolled the beans in our hands to help distribute the warmth (so they wouldn’t burn us). Then we shelled them and the cacao nibs were ready for the mortar. Because there’s about 50% oil/butter in the bean and 50% powder, it quickly became a paste, also known as chocolate liquor.
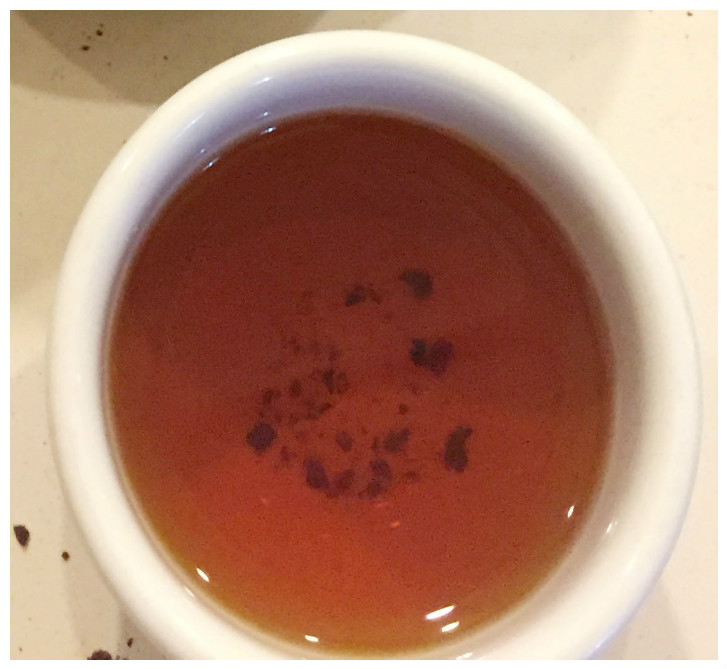
Chocolate tea can be made of the cacao shells. It’s a light and refreshing drink that you can enjoy all day! Simply boil water and steep, like any infusion. Sugar is optional and we found it refreshing and delicious without.
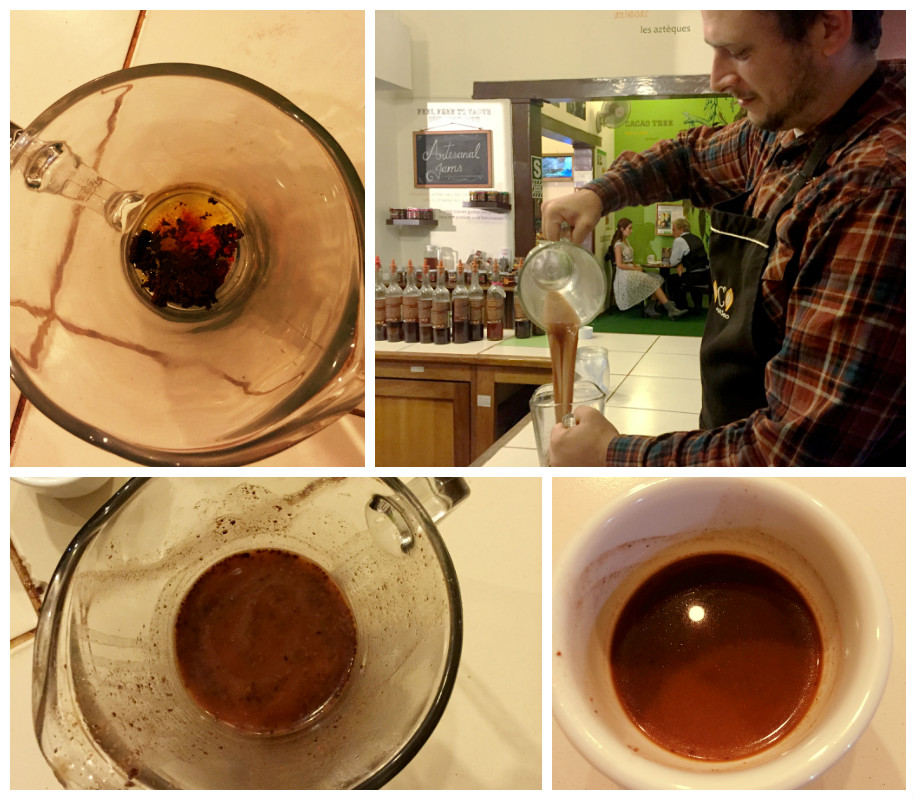
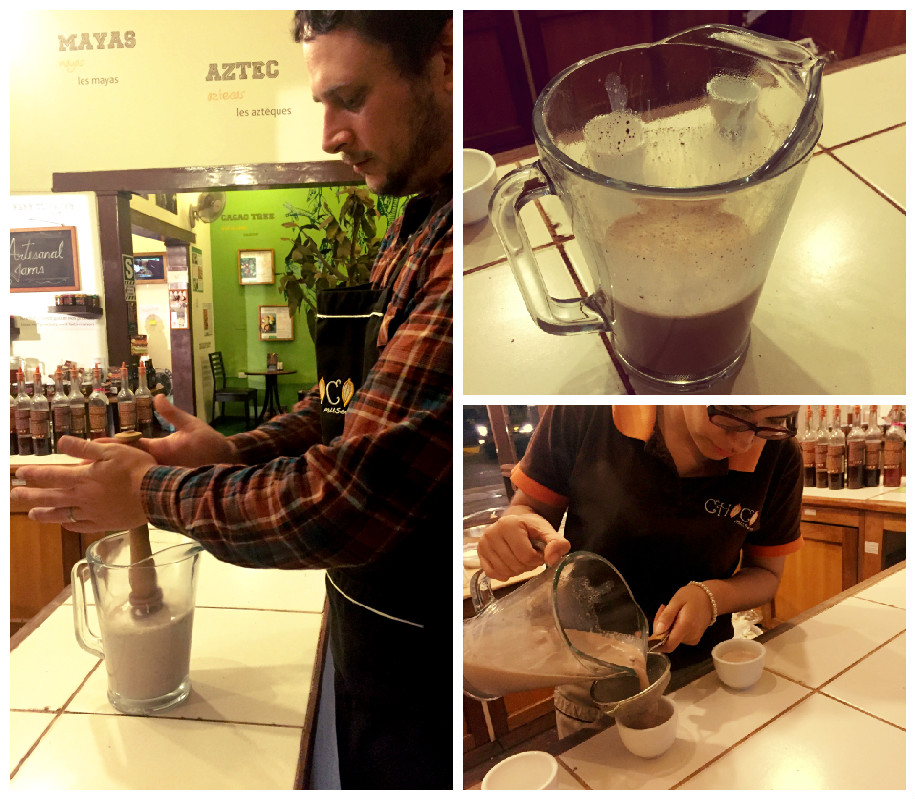
Next, we used some of the paste to recreate a drink based on the original Aztec chocolate drink.
The original Aztec hot chocolate drink was prepared for the gods. It was mixed by pouring hot water, chili powder, cocoa paste, honey, and human blood together. Pour from one container to another over and over again to mix and create a foam. The foam was placed on the floor for the gods while people of high importance drank the drink.
When Hernan Cortéz brought the Aztec drink back to Europe, the Queen of Spain did not like it. So it was altered to use cacao paste, milk, sugar, cinnamon, and cloves instead. Cortéz also brought back some seeds to plant cacao. Since it didn’t grow in Europe, they took it to Africa to produce. To this day, Africa produces more cacao than any other region in the world.
After our 3 chocolate drinks, we moved on to more solid chocolate.
The chocolate liquor (paste) is squeezed to separate the cacao powder from the cacao butter. The butter can be used for cosmetics, and they smell delicious.
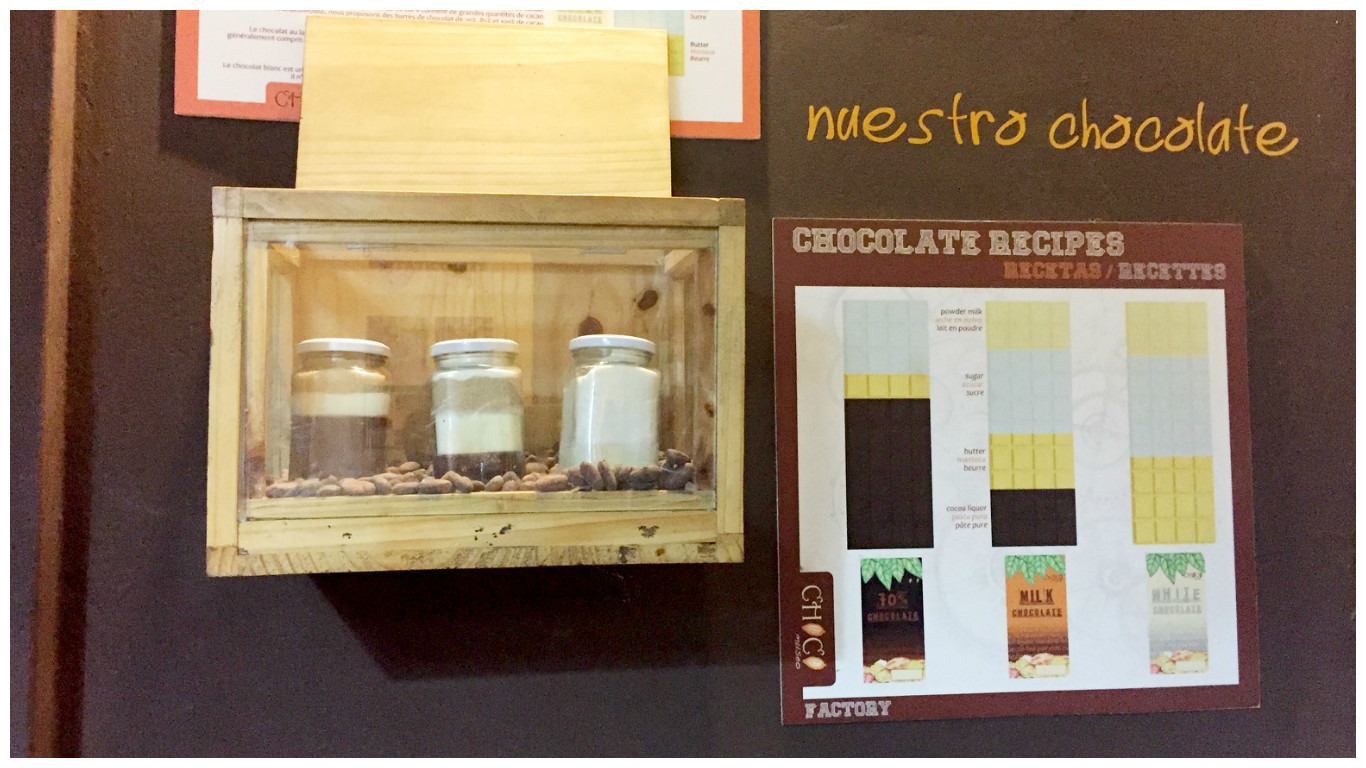
Depending on the type of chocolate you want to make, you can mix and match ratios of cacao powder, butter, sugar and powdered milk. White chocolate is still chocolate, using lots of cacao butter and no cacao powder. For milk and white chocolate, powdered milk is always used, since liquid milk would not mix well with the chocolate butter.
Mixing all the ingredients together takes quite a while. At the chocomuseo they mix their chocolate for around 22 hours, but it can take 6 days depending on where/how it’s done. They’re looking for a specific temperature (I forgot what it is)—too hot/too much mixing may burn the cacao, but without enough the chocolate may be coarse and grainy.
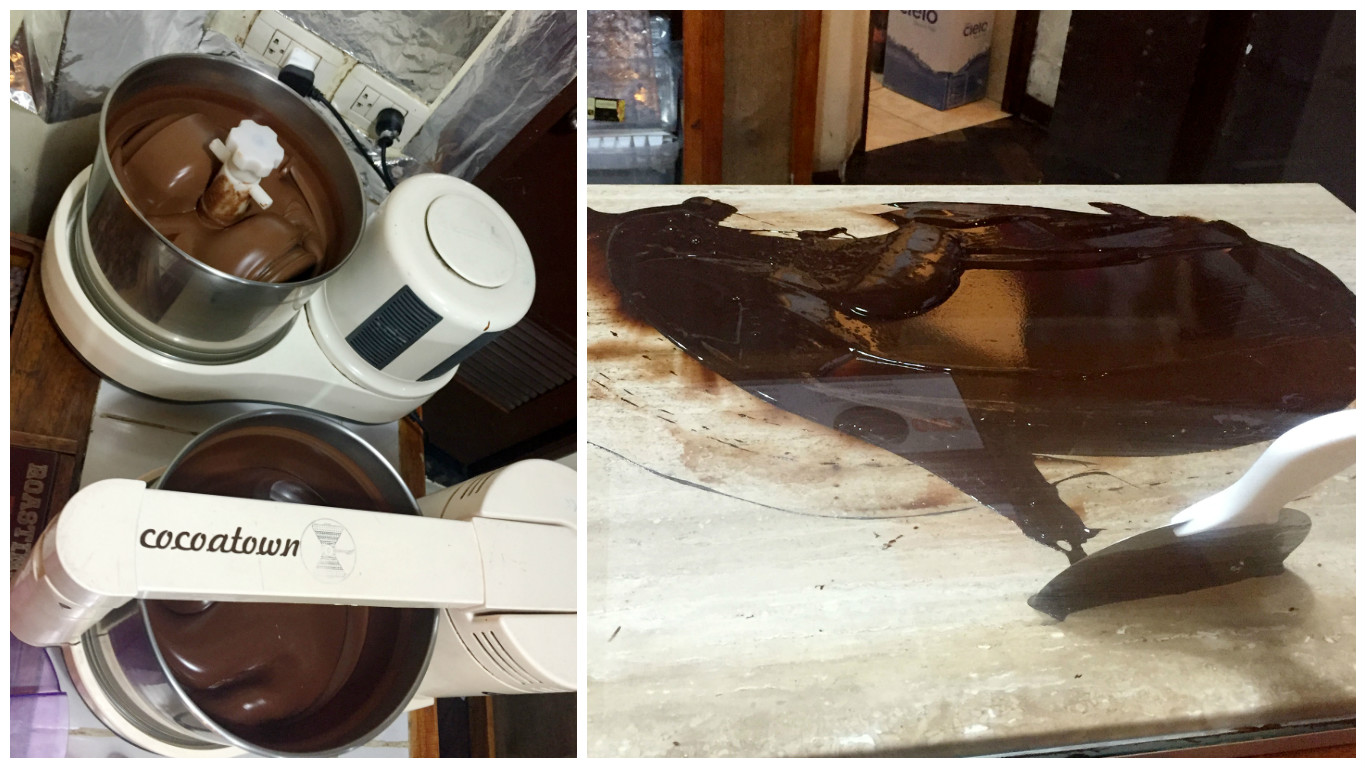
Then it’s on to tempering! This is where the chocolate is heated and cooled rapidly to create a shiny chocolate that snaps well and melts beautifully.
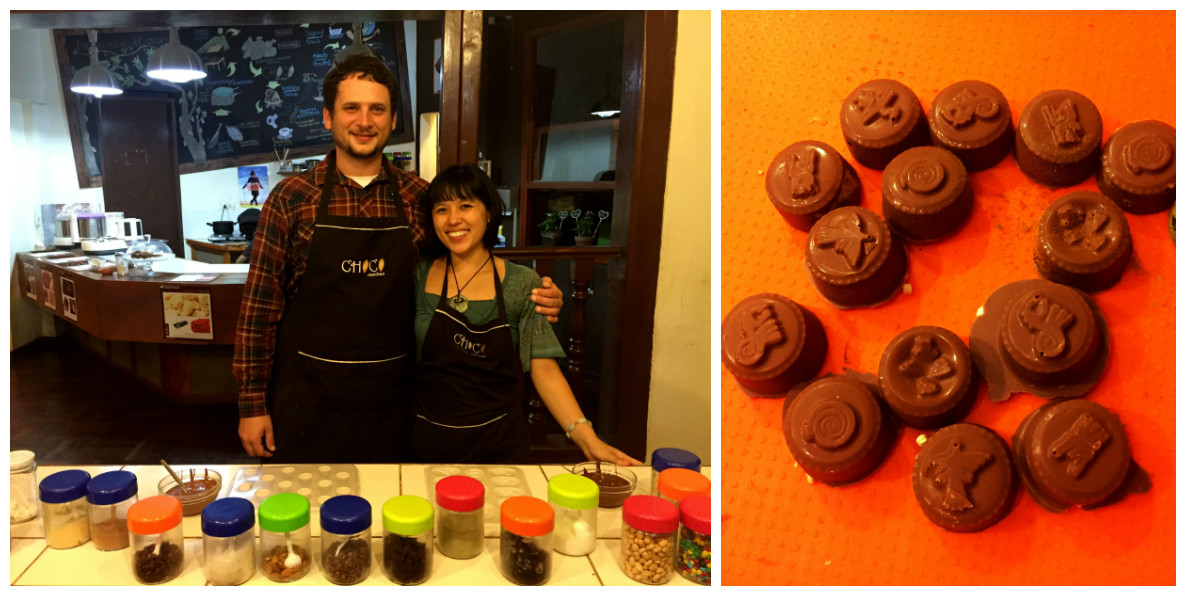
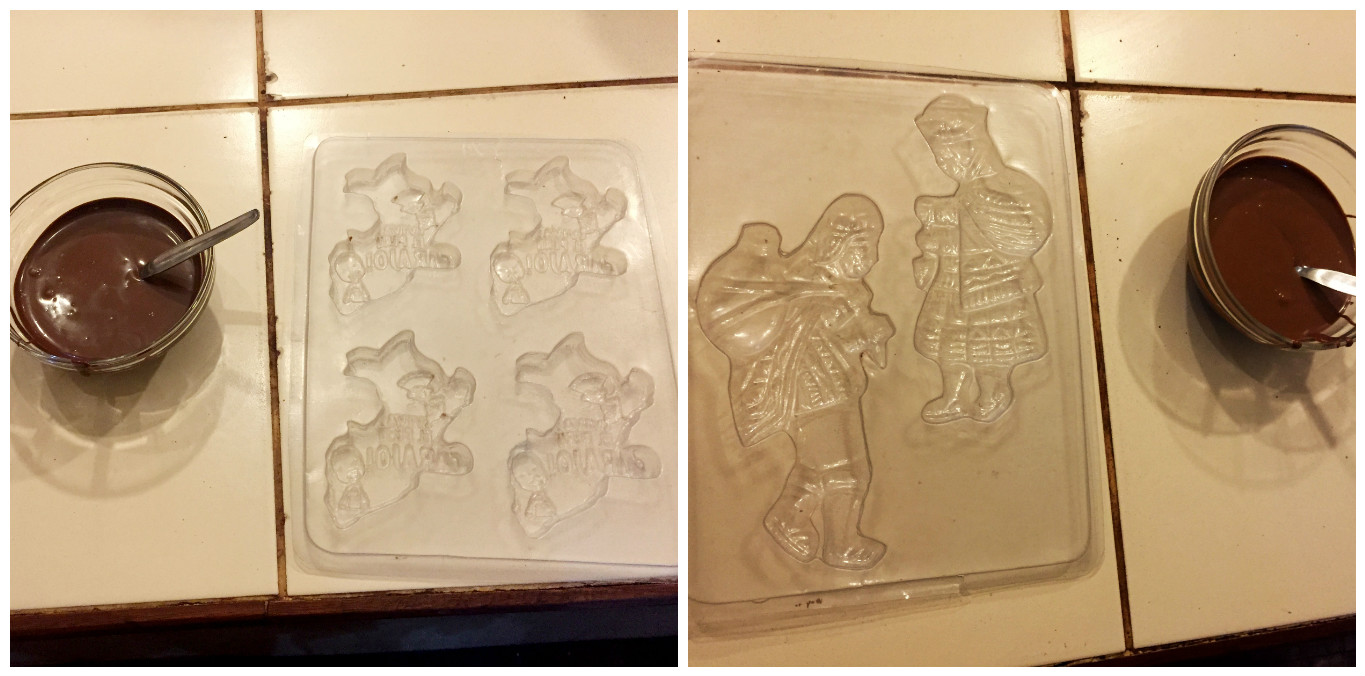
Since this process takes some time, we got our chocolate already mixed and tempered. Then we got to choose our molds and add any mix of ingredients we wanted! We had lots to choose from including coca powder, puffed quinoa, oreo crumble, peanuts, almonds, sea salt, coffee beans, coconut, ginger powder, chili flakes, and more.
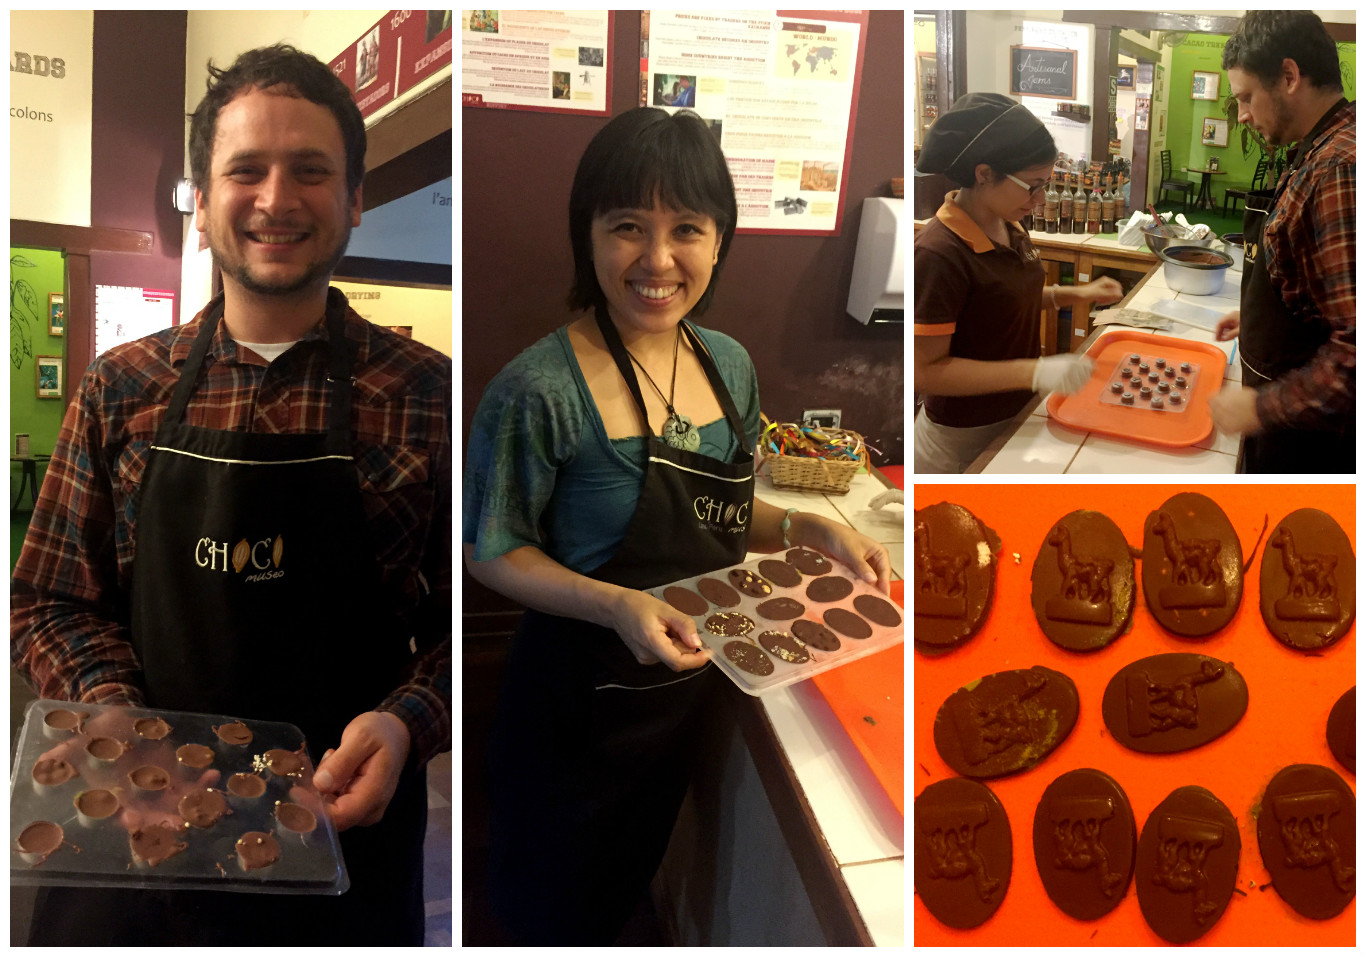
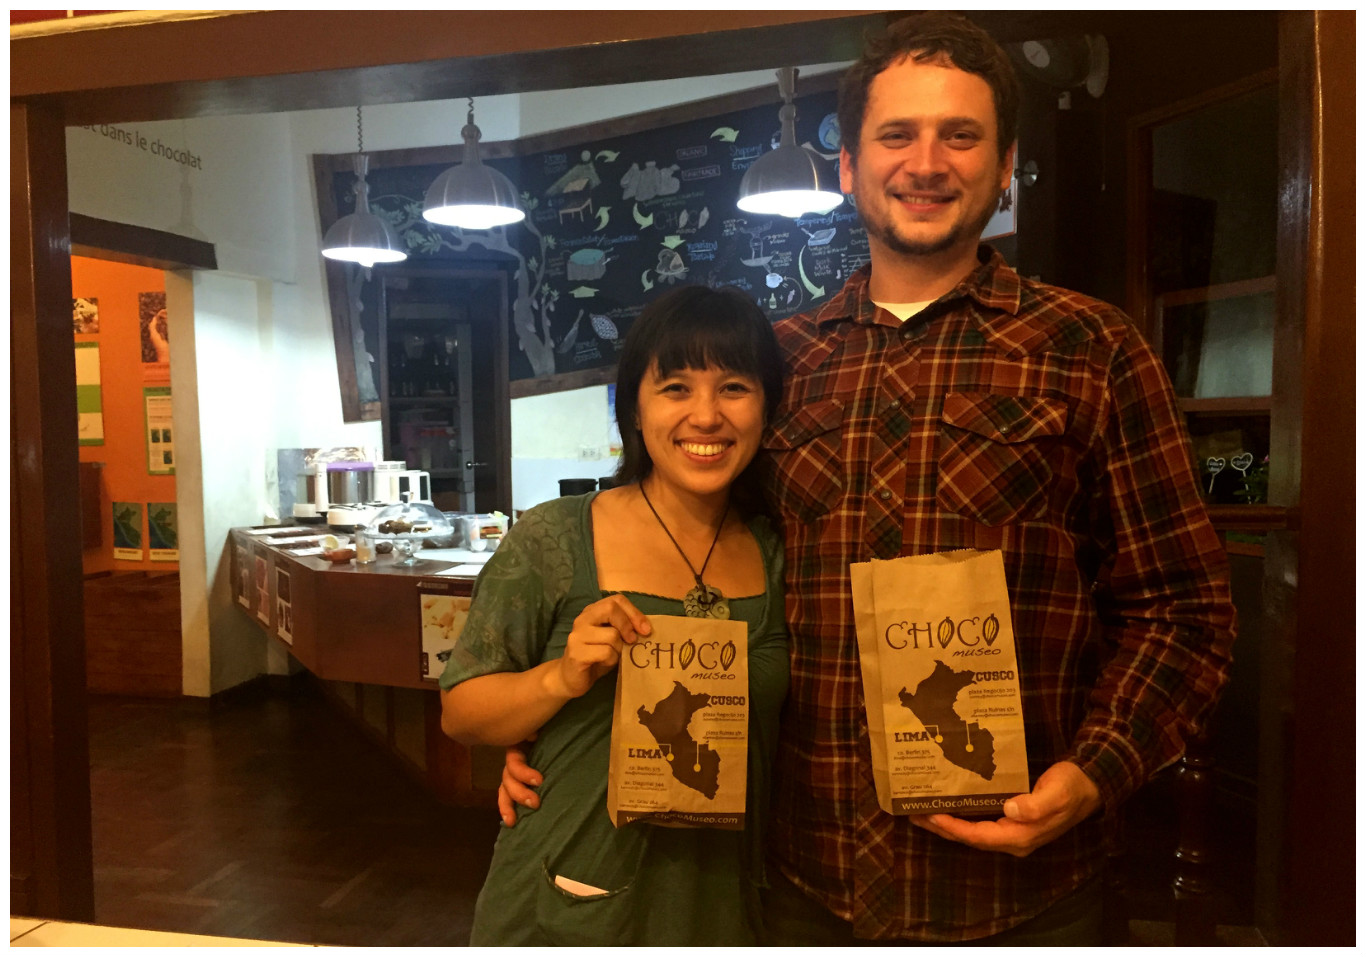
All in all, a decadently delicious and enlightening experience! I’m still savoring my chocolates today but will likely finish them before our next flight on Saturday to avoid any melty mishaps. =)
Omgoodness! What a decadent class! At the source. Yum!